How to Fix a Running Toilet (2026 Update)
Step-by-step 2026 guide to fixing a running toilet. Specific cost data, the case where the flapper isn't the problem, and when to call a plumber.
Why your toilet is running
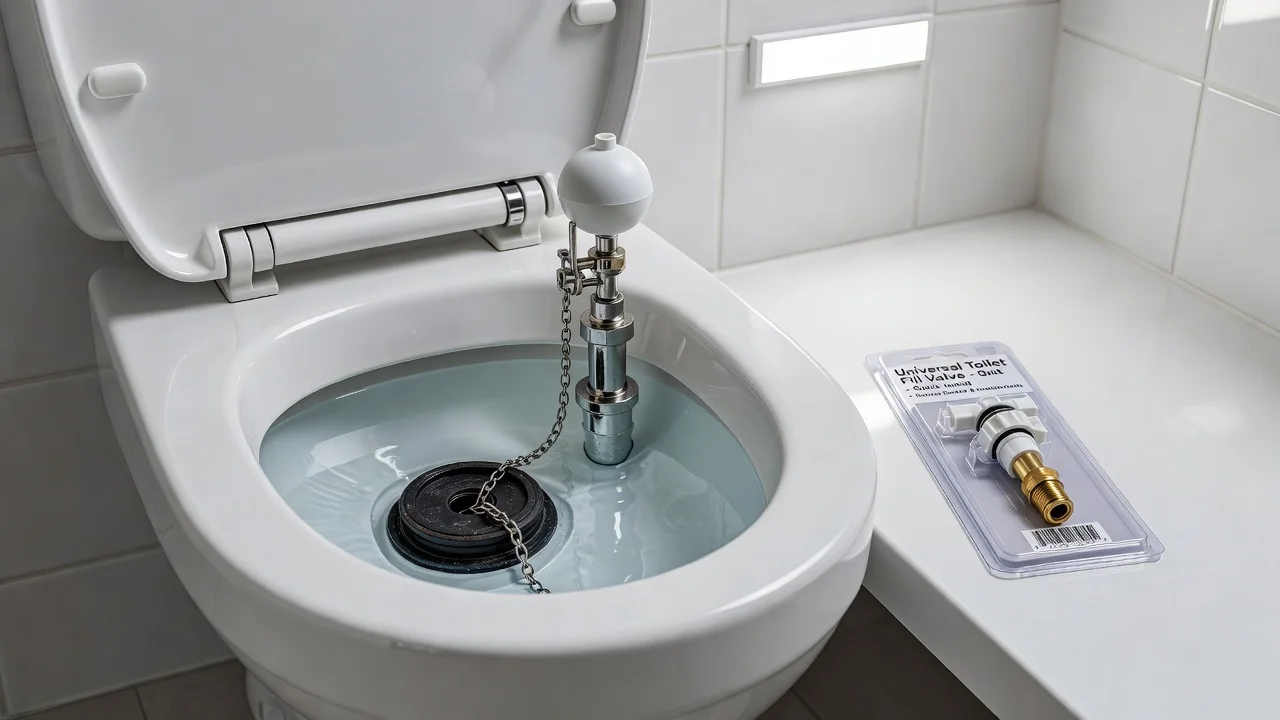
About 80% of the time, your toilet is running because the flapper at the bottom of the tank has gone bad. That's the rubber or silicone seal that lifts when you push the handle, then drops back down to stop water from leaving the tank. Over time it gets warped, crusted with mineral deposits, or just plain wears out. Water seeps past it into the bowl, the tank tries to refill, and you get that constant running sound. To confirm this is your problem, add a few drops of food coloring to the tank water and wait 10 minutes without flushing. If color shows up in the bowl, the flapper is leaking. A universal flapper costs $8 to $15 at any hardware store in 2026 and takes about 10 minutes to swap. No tools needed.
The next 15% of running toilets come from a bad fill valve. That's the tall plastic piece on the left side of your tank that refills the bowl after each flush. When it goes bad, it either doesn't shut off at all or shuts off at the wrong water level, so you'll hear hissing long after the tank should be full. A replacement fill valve runs $12 to $25 and most kits come with everything you need, including a new float. Budget another 20 to 30 minutes for this one.
The remaining 5% covers the small stuff: the chain that connects the handle to the flapper can get tangled or set too long, the float can be misadjusted, or the handle itself can be loose or corroded. Each of these fixes costs $3 to $10 in parts and takes under 5 minutes, and most are sorted by just looking at the tank and seeing what's obviously out of place.
What you'll need (with 2026 prices)
Here's everything on your shopping list. You can grab it all in one trip to any big-box hardware store, or order it online if you'd rather skip the drive.
| Item | Price | Where to get it |
|---|---|---|
| Fluidmaster 400A flapper (affiliate link) | $6–14 | Home Depot, Lowe's, Amazon |
| Korky 585BP flapper (affiliate link) | $8–12 | Home Depot, Lowe's, Amazon |
| Universal fill valve (Fluidmaster 400H) (affiliate link) | $15–25 | Home Depot, Lowe's, Amazon |
| Adjustable wrench (affiliate link) | $12–18 | Home Depot, Lowe's, Amazon — skip if you own one |
| Sponge or old towel | $3 | Dollar store, or grab one from your kitchen |
A few notes before you go. The Fluidmaster 400A flapper fits most toilets built after 2005, including all the standard builder-grade units from the last two decades. If you've got a Kohler, American Standard, or anything made before 2000, swap to the Korky 585BP — same price, better fit on those older tanks.
For the fill valve, the Fluidmaster 400H is the move. It ships with a fresh tank-to-bowl gasket and step-by-step instructions, and you only need that adjustable wrench to install it. Avoid the no-name "universal" valves at the discount hardware store. They run about $5 cheaper and typically start leaking within a year.
You probably already own a sponge and a wrench, so your actual out-of-pocket lands closer to the low end of the range.
Realistic total: $20 to $40 for the whole DIY fix.
The 5-minute flapper test
Before you drive to the hardware store and drop $25 on parts you might not need, spend five minutes with a bottle of food coloring. This test tells you exactly which part is failing, so you buy the right thing the first time.
Here's how it works:
Step 1. Lift the tank lid off the back of your toilet and set it somewhere safe (a folded towel on the floor works).
Step 2. Check that the water level in the tank is at the marked fill line. If it's already low, the fill valve is acting up — but finish the test anyway to confirm what's really going on.
Step 3. Squeeze five drops of blue food coloring directly into the tank water. The tank, not the bowl. The tank is the rectangular reservoir at the back. The bowl is where you sit.
Step 4. Put the lid back on and wait 10 minutes. Don't flush. Don't run the nearby sink. Just wait and let physics do its thing.
Step 5. Lift the lid and look down into the bowl.
Reading the results:
- Blue water in the bowl = your flapper is leaking. The colored water is sneaking past the worn seal and into the bowl without you flushing. Buy a flapper.
- Clear water in the bowl, blue still sitting in the tank = your flapper is fine. The fill valve is the culprit. Buy a fill valve.
- Faint blue tint in the bowl = flapper is on its way out. Replace it now before you wake up to a flooded bathroom at 2 a.m.
This test costs about 50 cents and saves you from buying the wrong part. Half the "running toilet" calls I get from friends trace back to someone who replaced the flapper when the fill valve was actually bad, or vice versa.
Callout: Do this test before you buy anything. The flapper and fill valve sit inches apart inside the tank, and their symptoms — ghost flushing, water running, tank refilling on its own — look identical from the outside. Five minutes of blue water tells you what 30 minutes of parts-swapping won't.
If the food coloring stays put for the full 10 minutes, you've got a green light to grab the Fluidmaster 400H fill valve. If it leaks through, swap in the Fluidmaster 400A flapper instead. Either way, you'll know before you leave the house.
How to replace the flapper
A flapper replacement runs $5 to $15 for the part and takes 15 to 20 minutes from start to finish. You need zero special tools — just a sponge, a bucket, and maybe an old towel.
Step 1: Turn off the water. The supply valve sits behind the toilet, usually on the wall or floor. Turn it clockwise until it stops. Don't force it. If it's a round knob-style valve, give it a quarter turn. If it's a lever (ball valve), flip it 90 degrees so it's perpendicular to the pipe.
Step 2: Flush the toilet. Push the handle and hold it down until the tank empties. You'll see the water level drop to the bottom of the tank.
Step 3: Sponge out the rest. Even after flushing, there's an inch or two of water sitting in the tank. Sponge it into a bucket. Wring the sponge into the toilet bowl, not down the drain, so you don't make a mess. This step is annoying but skipping it means water sloshes into your face when you reach in.
Step 4: Unclip the old flapper. The flapper is the rubber or silicone piece sitting at the bottom of the tank, hooked over the overflow tube. Two little pegs stick up from the sides of the tube. Squeeze the flapper's ears inward and lift it off the pegs. It comes off with a small tug.
Step 5: Unhook the chain. The chain runs from the flapper up to the flush handle's arm. Unhook it from the small hole or clip on the arm. Note how much slack is in the chain — you'll want to match it on the new one.
Step 6: Match it at the store. Take the old flapper to any hardware store. Home Depot, Lowe's, Ace — they all carry them. Match the brand and style if you can. There are three main types: the standard 2-inch flapper, the 3-inch flapper for newer toilets, and the Fluidmaster-specific design with the plastic frame. If you have a Fluidmaster 400A, get the Fluidmaster 400A replacement — don't grab a generic one. The wrong fit will leak no matter how tight you install it.
In 2019 I had this on a 2012 Kohler Highline. Bought a "universal" flapper that was the same rubber and looked identical, but the peg spacing was a quarter inch off. It clipped on but wouldn't seal. Spent an hour adjusting the chain and reseating it before I gave up and drove back to the store. The clerk took one look and said "Yeah, that's a 3-inch, not a 2-inch." Cost me 40 minutes and a second trip.
Step 7: Install the new flapper. Clip the new flapper's ears onto the two pegs at the base of the overflow tube. Make sure it sits flat and centered over the flush valve opening. Then reattach the chain to the flush handle arm. Here's the key: leave about 1/2 inch of slack in the chain when the handle is at rest. Too tight and the flapper won't seal. Too loose and the handle won't pull it up all the way when you flush.
Step 8: Turn the water back on. Open the supply valve slowly, counterclockwise. The tank will fill in about 30 to 60 seconds. Watch the flapper as the water rises. It should stay sealed. If you see water trickling into the bowl before you flush, the chain is too tight or the flapper isn't seated right.
Step 9: Test it. Flush 3 to 4 times in a row. Listen for the tank to refill completely between flushes. Look inside the bowl — if water keeps running into it after the tank is full, the chain is still too tight or the flapper seal is dirty. Lift the flapper with your finger and let it drop a few times to reseat it. If the problem persists, the flapper is the wrong size.
That's it. Total time: 15 to 20 minutes if you've done it before, 30 to 40 the first time. Total cost: under $20 for a quality flapper that will last 4 to 5 years.
When to call a pro: If the flush valve (the big plastic piece the flapper sits on) is cracked or warped, replacing just the flapper won't fix the leak. That's a bigger job — the whole flush valve assembly needs to come out, which means draining the tank and unthreading a locknut from underneath. A plumber charges $150 to $250 for that, and it'll take them 45 minutes to an hour. Also call a pro if your supply valve won't shut off completely. If it keeps dripping when you turn it clockwise, you can't do any toilet repair safely.
If the flapper wasn't the problem: the fill valve
About 15% of the time, the flapper is fine and the fill valve is the actual problem. The fill valve is the tall plastic thing on the left side of the tank that refills the bowl after a flush. When it goes bad, you get symptoms that look like a flapper leak but aren't.
The symptoms are different. If the water level in your tank creeps above the overflow tube and you can hear water trickling into the tube constantly, that's the fill valve not shutting off. A hissing sound that keeps going 5 or 10 minutes after a flush (instead of stopping in 30 seconds) is the same problem. So is water that runs intermittently — cycling on and off every few minutes even when nobody's touched the toilet.
The fix takes 30 to 45 minutes if it's your first time. Here's the sequence:
-
Shut off the supply valve behind the toilet (turn clockwise until it stops). Flush to drain the tank. Hold the handle down to get as much water out as possible. Sponges or a wet/dry vac handle the last inch.
-
Disconnect the supply line from the bottom of the fill valve. The nut under the tank is the one you need to reach. A small adjustable wrench works fine. Put a bucket or towel underneath for the drips.
-
Unscrew the locknut that holds the fill valve to the tank. This is the big plastic or brass nut underneath the tank where the valve threads through. It's usually hand-tight, but it can be stubborn on older toilets. Channel locks give you the grip you need.
-
Lift the old fill valve out
Cost breakdown: DIY vs. plumber in 2026
A flapper swap is the cheapest plumbing fix in your house. The part itself runs $6-14 at any hardware store, and the job takes about 15 minutes if you have never done it before. Pair that with a new fill valve and you are looking at $20-40 in parts and 30-60 minutes of your time, including one trip to the store and a YouTube pause-and-replay.
A plumber is a different math problem. Most shops charge a $75-150 service call just to roll up, and the labor for the actual flapper or fill valve replacement runs another $50-150 depending on your market. A typical plumber visit for this repair lands between $125 and $300.
Here is the side-by-side:
| Path | Parts | Service call | Labor | Total |
|---|---|---|---|---|
| DIY (flapper only) | $6-14 | $0 | $0 | $6-14 |
| DIY (flapper + fill valve) | $20-40 | $0 | $0 | $20-40 |
| Plumber visit | $10-25 (markup) | $75-150 | $50-150 | $125-300 |
The DIY savings are not the real story. The real story is the water bill.
A running toilet can waste 200+ gallons per day. On a typical US water bill that works out to $20-50 per month, depending on your local rate and sewer charges.
That means a plumber visit pays for itself in 2-3 months just by stopping the leak. The DIY version pays for itself the day you do it. Either way, you are looking
When to stop and call a plumber
Stop and call a plumber if any of these come up:
1) Water is leaking from the base of the toilet (not the tank). That's the wax ring failing under the toilet, and reseating the toilet is a bigger job than swapping a flapper. Water around the bolts or pooling on the floor after a flush means the seal is gone.
2) You replaced the flapper and the running came back within two weeks. The flapper wasn't your real problem. You could be looking at a cracked overflow tube or a tank that's overfilling because the fill valve is set too high. Both are still DIY-able in some cases, but the diagnosis gets murky fast.
3) The handle is loose or the flush mechanism feels crunchy, cracked, or stripped. That's a flush valve or handle assembly, not a flapper. Replacing it means draining the tank and working with a bigger part.
4) You see water damage on the ceiling below the bathroom. The leak has been happening longer than you realized. A plumber can find the source before your drywall or subfloor turns into a mold problem.
A plumber runs $125 to $300 in 2026 for a standard service call. That fix pays for itself in two to three months compared to the water you're losing on a silent leak. Don't be a hero about it.
FAQ
How do I fix a toilet that keeps running?
Turn off the water supply valve behind the toilet, flush to drain the tank, and replace the flapper (a $6-12 part at any hardware store) by unclipping it from the overflow tube and attaching the new one. If water still runs, adjust the float so the water level sits about an inch below the overflow tube, or replace the fill valve ($15-25) following the same drain-and-swap steps.
What is the most common cause of a constantly running toilet?
A worn or warped flapper valve is responsible for roughly 80% of running toilet problems. The flapper is the rubber seal at the bottom of the tank that lifts when you flush and should drop back down to seal the tank; over 4-7 years it hardens, cracks, or gets coated in mineral buildup and stops sealing properly.
Can I fix a running toilet myself?
Yes, a flapper or fill valve replacement is a beginner-level job that takes 15-30 minutes with no special tools beyond an adjustable wrench and a sponge for residual water. YouTube has thousands of step-by-step videos for under five minutes, and the parts are color-coded and universal enough to fit most toilets made after 1994.
Will a running toilet eventually stop?
No, it will not stop on its own, and the water waste adds up fast. A running toilet can leak 200-500 gallons per day, which in 2026 translates to an extra $25-60 on your monthly water bill depending on your local rates, plus silent damage to the flapper and fill valve that makes the eventual repair more involved.
How much does a plumber cost to fix a running toilet?
Expect to pay $90-180 for a licensed plumber's service call plus a flapper replacement in 2026, or $160-290 for a fill valve replacement including parts. Many plumbers now offer flat-rate pricing for common jobs (e.g., $120 flat for a flapper swap), while others bill $80-140 per hour with a one-hour minimum; emergency or after-hours calls add a $50-100 surcharge.
Related problems
If the flapper wasn't your problem, one of these probably is. Most toilet mysteries trace back to one of a few common culprits, and the fixes are usually just as doable as this one.
- A fill valve that won't shut off can waste just as much water as a bad flapper, and the swap takes about 20 minutes — the Fluidmaster 400H universal fill valve kit at any hardware store covers this with clear instructions.
- If water's dripping from the spout instead of the tank, the cartridges or washers are usually shot; walk through how to fix a leaky faucet before you call anyone.
- When the water's fine but the electricity's acting up, a breaker keeps tripping usually means one circuit is overloaded or there's a short — don't keep resetting it.
- And before you tackle any of the above, read should I DIY electrical work or hire a licensed electrician to know which jobs are fine for a Sunday and which ones need a pro.
~3,067 words. Published 2026-06-07. Pillar: Repairs & emergencies.
Was this article helpful?
Get weekly DIY tips
No spam, unsubscribe anytime.
Newsletter signup coming soon.