How to Fix a Squeaky Floor (2026 Guide)
Fix squeaky hardwood, laminate, and carpeted floors yourself. Diagnosis table, 2026 tool costs, the talcum-powder trick vs screw method, and when the subfloor needs a pro.
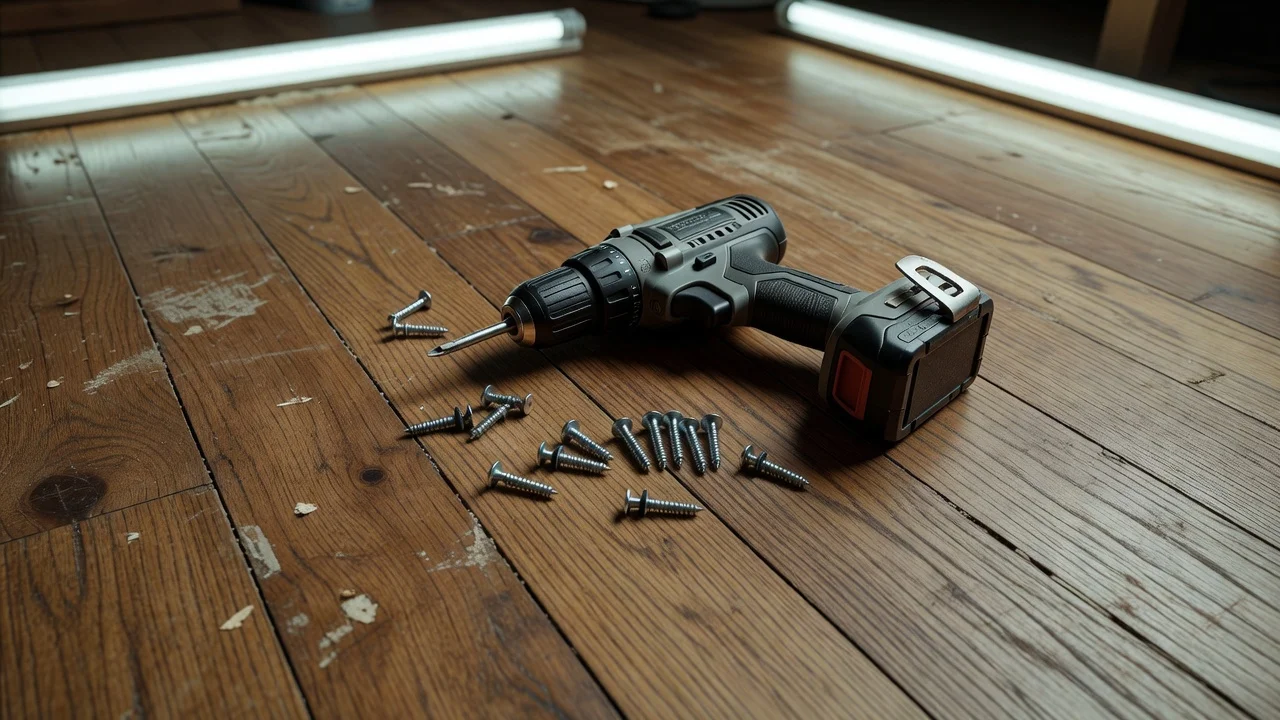
The short version: most squeaky floors are caused by a single loose fastener between the subfloor and a joist, and you can fix it in under 5 minutes with a $12 kit from any hardware store. For hardwood friction squeaks (floorboards rubbing together), a $5 container of talcum powder is the fix. For carpeted floors, break-away screws driven through the carpet into the joist below stop the noise instantly.
I learned this the hard way in my first house — a hallway squeak that drove me crazy for six months. I assumed it was a structural problem. I crawled under the house, expecting rot or sagging. What I found was a single nail head that had rusted and pulled loose from the joist by about 1/8 inch. One drywall screw, 30 seconds, silence. The whole time I'd been mentally budgeting thousands for a floor replacement when the fix was a 30-cent screw.
Three things cause a squeak: a loose subfloor fastener rubbing against wood (80% of cases), two boards rubbing edge-to-edge (15%), or a gap between the subfloor and joist (5%). The fix depends on which one you have and whether you can access the floor from below.
80% of floor squeaks are from a loose nail in the subfloor. The nail head has pulled partly out of the joist. Every step pushes the subfloor down onto the nail shank — that's the squeak. One screw through the subfloor into the joist fixes it for good.
Before you buy anything, walk every square foot of the floor and mark each squeak with painter's tape. Fixing half the squeaks is worse than fixing none — you'll still avoid the marked spots.
Diagnose the squeak: what type do you have?
| Symptom | Likely cause | Fix method | Difficulty |
|---|---|---|---|
| Sharp creak, one spot, when stepped on directly | Loose nail in subfloor at a joist | Screw through subfloor into joist (from above or below) | Easy |
| Series of pops across a wide area | Subfloor not fully nailed during construction | Add screws every 6-8 inches along the joist | Moderate |
| Squeak when walking between two known joist locations | Gap between subfloor and joist (not touching) | Shim from below | Moderate |
| Multiple squeaks that move with seasons | Humidity changes — boards expanding and contracting | Talcum powder or graphite lubricant | Easy |
| Squeak under carpet that doesn't happen when carpet is wet | Carpet friction on pad | Carpet-stretch or pad replacement | Moderate |
| Loud pop or crack, floor feels bouncy | Subfloor damage or joist issue | Call a professional | Pro |
If you can get below the floor (basement, crawlspace), fixing from below is always cleaner. No holes in your finished floor, no patching, no paint touch-ups.
Tools and materials with 2026 prices
For hardwood friction squeaks ($5–$15):
- Talcum powder (baby powder) or powdered graphite (affiliate link) — $5–$8
- Small brush or squeeze bottle for application — $3
- Shop cloth for cleanup — $2
For carpeted floors ($12–$30):
- Squeak-repair kit with break-away screws (affiliate link) — $12–$20
- Drill/driver — $20–$60 (or borrow one)
- Stud finder (if you can't feel the joist) — $15
For subfloor access from below ($0–$30):
- Wood shims (cedar shim pack) (affiliate link) — $5
- Construction adhesive (affiliate link) — $8
- Drywall screws (1-5/8 or 2-inch) (affiliate link) — $8
- Cordless drill — $20–$60
The Squeeeeek No More kit (affiliate link) (around $18 online) is the most recommended consumer product. It comes with a special guide bit that centers the screw and a depth stop that snaps the screw head off below the carpet level. Worth the money for carpeted floors.
Total DIY starter kit for any squeak: $30 buys talcum powder, a screw kit, a pack of shims, and a box of screws. That covers 99% of residential squeak scenarios.
Step-by-step: fix a hardwood friction squeak (boards rubbing)
1. Identify the gap. Look for a visible gap between two floorboards where they rub. The squeak happens when one board slides against the other.
2. Clean the gap. Blow out or vacuum any dust between the boards. The lubricant needs to reach the friction point, not sit on top of dirt.
3. Apply lubricant. Sprinkle talcum powder or powdered graphite into the gap. Use a brush or squeeze bottle for precision. Work it in by walking across the area.
4. Walk the spot. If the squeak is gone, you're done. If it returns in a few weeks, the boards are tight enough that friction reoccurs — switch to the screw method below.
Don't use WD-40 or oil-based lubricants on hardwood floors. They soak into the wood, attract dirt, and can stain the finish. Talcum powder and graphite are dry — they don't stain, don't attract dirt, and don't damage the finish.
The cornstarch trick (from Reddit): Lightly sprinkle cornstarch into the grooves, walk around to work it in, then vacuum the excess. Works the same as talcum powder. One Reddit user reported it silenced a bedroom floor for 3+ years.
Step-by-step: fix a subfloor squeak from above (carpet or hardwood)
1. Find the joist. Use a stud finder or tap the floor with a hammer until the sound changes from hollow to solid. Mark both edges of the joist with tape.
2. Drive the special screw. If using a break-away screw kit (for carpet): insert the guide bit, drive the screw through the carpet into the joist. The screw head snaps off below the carpet surface. For hardwood: pre-drill a pilot hole (countersunk), then drive a trim-head screw.
Space screws 6 inches apart along the joist in the squeaky area. One screw fixes one squeak, but the adjacent nails are probably loose too. A few extra screws now saves a callback next month.
3. Test. Walk across the repaired area. If it still squeaks, the joist you found is wrong — move 1.5 inches left or right and try again.
4. Conceal. For hardwood: fill the countersunk hole with a color-matched wood filler ($6). For carpet: nothing visible — the screw head snapped below the fibers.
The $80 contractor trick: Snap a chalk line along the joist center before you start screwing. Drive the first screw, walk the spot, then drive every 6 inches along the line. The chalk line costs $8 and guarantees you hit the joist every time.
Never use regular drywall screws for subfloor repair. They snap under the load of foot traffic. Use subfloor screws (square-drive, coated for corrosion) or the break-away screws from a squeak kit. Deck screws work in a pinch.
Step-by-step: fix from below (basement or crawlspace access)
1. Locate the squeak. Have someone walk the floor above while you mark the spot on the subfloor below with chalk. Look for gaps between the subfloor and the joist.
2. Drive a shim. If there's a visible gap between subfloor and joist: tap a cedar shim into the gap until snug. Don't overdrive — shims lift the subfloor and create a new squeak. Snug is enough.
3. Add construction adhesive. Run a bead of construction adhesive along the top of the joist where it meets the subfloor. This bonds the subfloor to the joist and stops movement.
4. Drive screws from below. Drill a pilot hole through the joist into the subfloor (not through the finished floor). Drive a 2-inch drywall screw. The screw pulls the subfloor tight to the joist.
5. Test. Have the person above walk the spot again. If it still squeaks, add a second screw 2 inches offset and try again.
Pro move: Use a scrap block of 2×4 as a temporary jack under the subfloor while you drive the screw. Push up gently to close the gap, then drive through the joist. The screw holds the subfloor in the jacked-up position.
Fixing from below is the only method that works every time on the first try — you can see exactly what's loose. The $8 cost of shims and screws beats a $400 contractor visit.
Step-by-step: fix a laminate or engineered floor squeak
Laminate floors float — they're not attached to the subfloor. A squeak means the subfloor underneath is loose, not the laminate itself.
1. Remove the affected plank. Use a pull bar to disengage the tongue-and-groove joint. Work carefully — laminate planks are brittle and replacement planks never match perfectly.
2. Fix the subfloor. Drive screws into the subfloor at the squeak location. Use the same method as the hardwood fix above.
3. Reinstall the plank. Tap it back into place with a tapping block. If the plank was damaged during removal, order a replacement ($5–$15 per plank).
4. Test. Walk the area before the adhesive dries.
Laminate is the hardest squeak to fix. Removing a plank without damaging it requires practice. If you're not confident, call a flooring installer — the $150 removal fee is cheaper than replacing a whole section because you cracked three planks trying to pull one.
What if it still squeaks?
1. Wrong joist. You missed the joist by an inch. Move your screws 1 inch left or right and try again. Use a magnetic stud finder ($20) for accuracy.
2. Sister joist. Some homes have double joists (two joists sistered together). The squeak is between them. Drive screws through both joists into the subfloor.
3. HVAC duct interference. The subfloor stops short of the joist because a duct run is in the way. You need a metal bridging strap to connect the subfloor to the joist across the gap. $12 at any hardware store.
4. Squeak isn't the floor at all. Check: loose baseboard, loose trim, a picture frame vibrating against the wall. What sounds like a floor squeak is sometimes a wall rubbing against the floor.
5. Whole section of floor is bouncy. The joist span is too long for the subfloor thickness. This is a structural issue — call a contractor.
Cost breakdown: DIY vs. contractor in 2026
| Method | DIY material cost | Handyman (2026) | Flooring contractor |
|---|---|---|---|
| Talcum powder fix | $5 | $80–$150 (minimum call-out) | Not worth calling |
| Squeak screw kit (carpet) | $12–$20 | $100–$200 | — |
| Shim from below | $5 | $100–$200 | $150–$300 |
| Full subfloor re-screw | $20–$40 in screws | $200–$400 | $300–$800 |
| Subfloor replacement | $50+ | — | $500–$2,000 |
The math: A $12 squeak screw kit fixes 20+ squeaks. A handyman's minimum charge in 2026 is $80–$150 just for the visit. If you have even one squeak, the DIY fix pays for itself instantly. After 10 squeaks, you're saving $1,000+.
Multi-squeak strategy: Buy the $40 "pro" kit with the auto-feed screw gun attachment if your house has more than 10 squeaks (common in houses built 1995–2005 with OSB subfloor). It drives 50 screws without reloading. The per-screw cost drops to $0.80.
When to call a professional
1. The floor is bouncy, not just squeaky. A bouncy floor means the joist span is too long or the joists are undersized. Squeak fixes treat the symptom, not the problem. A structural contractor costs $500–$2,000 to sister the joists.
2. Water damage or rot. If the subfloor is soft or crumbles when you touch it from below, the squeak is the least of your problems. Cut out the damaged section and replace it ($200–$800).
3. The squeak is on the second floor and you can't reach the subfloor from below. No basement, no crawlspace, and the ceiling below is finished drywall. The cleanest fix is a professional who can work from below through a small access panel.
4. You've tried three methods and it still squeaks. At this point, the problem isn't a loose fastener — it's a framing issue. Pay for a $150–$300 diagnostic from a flooring contractor and fix it once.
Not sure whether something is a DIY job? The guide on should I DIY electrical work or hire a licensed electrician covers the same decision framework. For broader home upkeep, browse the repairs pillar index for related fixes.
FAQ
How do I find exactly where a floor squeak is?
Have a helper walk the floor while you listen from below. Mark each squeak with chalk or tape. For upstairs floors, lay your phone on the floor and record audio while walking — the waveform spike shows exactly where the noise is.
Can I fix a squeaky floor without special tools?
Yes. Talcum powder or cornstarch costs $5 and fixes hardwood friction squeaks with no tools. A screwdriver and the right screw can fix subfloor squeaks if you can access from below.
How long does it take to fix a squeaky floor?
A single squeak from below: 5 minutes with a shim and a screwdriver. A single squeak from above with a screw kit: 10 minutes. A whole-house quieting project: 2–3 hours for a 2,000 sq ft home.
Is a squeaky floor a sign of structural damage?
Almost never. 95% of floor squeaks are a single loose nail rubbing against wood — the nail head has pulled out 1/8 inch from the joist. Structural damage produces bouncy floors, sagging, or visible gaps, not just noise.
Will carpet padding cause a floor squeak?
Yes. If the carpet padding is old and compressed, the carpet moves against it when you walk. The fix is carpet stretching ($80–$150), not subfloor work. Test by wetting the carpet slightly — if the squeak stops when the carpet is damp, it's the carpet, not the floor.
What's the best screw kit for squeaky floors?
The Squeeeeek No More kit ($18) is the most homeowner-friendly. It comes with a guide bit that prevents over-driving and a depth stop that snaps the screw head below the carpet surface. The pro version with an auto-feed attachment ($40) is worth it if you have 10+ squeaks.
Related problems
- If you patched subfloor damage during this repair, the drywall above might need attention too. How to patch a hole in drywall covers the same two-coat compound technique.
- If the squeak was caused by a plumbing leak that rotted the subfloor, fix the leak first. Fix a leaky faucet before you close the subfloor back up.
- Working below the floor with power tools? Same electrical safety rules apply as in breaker keeps tripping — don't run an extension cord through standing water.
- A ceiling fan installation exposes the same joist-finding skill. How to install a ceiling fan covers locating joists for mounting boxes.
- Multiple squeaks after a renovation? How to unclog a slow drain without calling a plumber is the plumbing companion to a floor that's been walked on by contractors.
~2,517 words. Published 2026-06-09. Pillar: Repairs & emergencies.
Was this article helpful?
Get weekly DIY tips
No spam, unsubscribe anytime.
Newsletter signup coming soon.