How to Patch a Hole in Drywall (2026 Guide)
Fix nail holes, dents, and fist-sized holes in drywall yourself in 30 minutes to 2 hours. 2026 material costs, the paper-tape vs mesh-tape decision, and when patching won't hold.
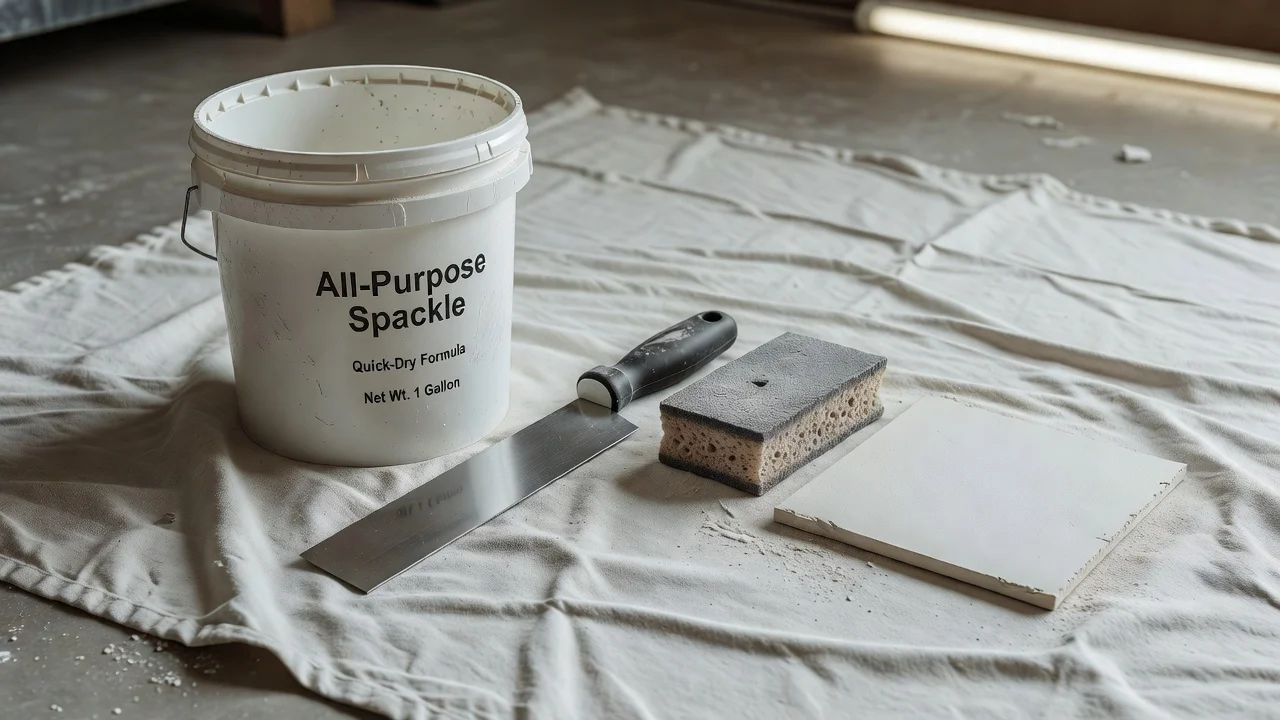
The short version: a nail or screw hole takes 15 minutes with spackle and a putty knife. A hole the size of a fist or smaller takes about 30 minutes of active work and needs a self-adhesive mesh patch, a drywall saw, and a $10 bucket of joint compound. A hole bigger than a dinner plate means replacing the whole sheet — that's an afternoon job.
I learned this the hard way in my first apartment when I tried to fill a doorknob-sized hole with toothpaste-grade spackle. Three coats, two sanding sessions, and one visible crater later, I understood that you don't match the material to the hole — you match the technique to the size.
Three rules cover 90% of drywall patching: small holes (under 1 inch) need spackle and 15 minutes. Medium holes (1–6 inches) need a mesh patch and two coats of compound over 24 hours. Big holes (6+ inches) need a drywall saw, a scrap piece of drywall, and a support brace.
The advice you'll hear about "just use spackle for everything" costs you time. Spackle shrinks and cracks on holes bigger than a quarter. Match the product to the hole size and you patch it once.
Drywall dust is a respiratory irritant. Wear a dust mask (N95, $2) when sanding. Open a window. The dust settles on every flat surface in the room and has a way of reappearing for weeks after you thought you cleaned it.
What size is your hole? (match the repair)
Stand in front of the hole. Measure the largest dimension. That number decides everything below.
| Hole size | What it looks like | Best method | Active time | Total time (incl. drying) |
|---|---|---|---|---|
| Under 1 inch | Nail hole, screw pop, small dent | Spackle + putty knife | 5 min | 15 min |
| 1–3 inches | Doorknob dent, small crack | Mesh patch + joint compound | 20 min | 24 hours |
| 3–6 inches | Fist-sized hole, outlet repair | Mesh patch or California patch | 30 min | 24–48 hours |
| 6–12 inches | Chair leg through the wall | Drywall patch with backer board | 45 min | 48 hours |
| 12+ inches | Full section damage | Replace the whole sheet | 2 hours | 3 days |
If the hole has a pipe or wire behind it, stop. Check that your patch won't compress or puncture what's in the wall. A backing board that snags a wire is more work than the original repair.
Tools and materials with 2026 prices
For small holes (spackle kit — $10 total):
- Spackle (affiliate link) — $5
- 2-inch putty knife — $3
- Fine-grit sanding sponge (120-grit) — $2
For medium holes (patch kit — $35 total):
- Self-adhesive mesh patch (5-pack) (affiliate link) — $5
- Pre-mixed joint compound (affiliate link) — $10
- 6-inch taping knife — $8
- Drywall saw (affiliate link) — $12
- Sanding sponge — $2
For large holes (full patch kit — $55 total):
- 4-foot drywall scrap or 2×2 sheet — $10
- 1×3 furring strip — $5
- Drywall screws (1-pound box) (affiliate link) — $8
- Pre-mixed joint compound (1-gallon) — $15
- 6-inch and 10-inch taping knives — $8 + $12
- Sanding sponge — $2
- Dust mask — $2
Buy pre-mixed joint compound unless you own a drill-mounted mixer. Powdered compound is cheaper but takes practice to mix without lumps, and a lumpy first coat means extra sanding.
You don't need all three kits. Know your hole size, buy the right kit, and you're done. Buying a full kit for a nail hole wastes $40 and shelf space.
Step-by-step: fix a small hole (nail/screw size)
1. Clean the hole. Knock off any loose paint or drywall crumbs with the putty knife. A clean hole bonds better than a dusty one.
2. Apply spackle. Scoop a pea-sized amount on the knife. Press it into the hole with the knife flat, then pull the knife across the hole at a slight angle to scrape off the excess. The spackle should fill the hole flush with the wall, not mounded on top.
3. Let it dry completely. Read the label — most spackle dries in 30–60 minutes. Don't sand early or you'll push wet spackle deeper into the hole.
4. Sand smooth. Light circular motion with the fine-grit sponge. Stop when the patch is flush and you can't feel the edge with your finger.
5. Paint. Prime first if the spackle is deeper than 1/8 inch. Otherwise, two coats of wall paint do the job.
Pro move: wet the sanding sponge, not the wall. A damp sponge cuts dust by 80% and lets you see the smoothness by feel.
Nail pops (a nail working its way out of the stud) need more than spackle. Settle the nail with a hammer, drive a second screw 2 inches away into the stud, dimple both heads, then spackle. If you just spackle over a popped nail, it pops again in 6 months.
Step-by-step: fix a medium hole (1–6 inches)
1. Square up the hole. Use the drywall saw to cut the hole into a clean rectangle or square. A ragged hole won't seat a mesh patch flat. Cut just inside the damage until you hit solid drywall on all four sides.
Cut to the nearest studs if the hole is wider than the gap between two studs (usually 16 inches on center). A patch needs solid backing on at least two sides.
2. Sand the paper edges. Run the sanding sponge around the cut edge of the hole. Loose paper fibers lift under wet compound and create bubbles you'll have to sand off.
3. Apply the mesh patch. Peel the backing and stick it centered over the hole. Press firmly around the edges. The mesh needs to overlap the wall by at least 1 inch on all sides.
4. Apply the first coat of joint compound. Scoop compound onto the 6-inch knife. Spread it across the patch in a thin layer, feathering the edges 2–3 inches past the mesh. The goal is to fill the mesh holes, not build a mountain. You should still see the mesh pattern after the first coat.
5. Let dry 24 hours. Joint compound dries by evaporation. Humid weather adds hours. Don't rush — a second coat over wet compound peels.
6. Apply the second coat. This time, use the 6-inch knife to spread a wider, thinner layer. Feather 4–6 inches past the first coat's edge. The goal is to taper the patch into the wall so you can't feel the transition.
7. Let dry, then sand. Another 24 hours. Sand with the fine-grit sponge until the patch is smooth and you can't feel the edge. Run your hand flat across the patch with eyes closed — if you feel a ridge, keep sanding.
8. Prime and paint. Spot-prime the bare compound with a drywall primer ($12). Bare joint compound soaks up paint unevenly and leaves a flat spot that flash-coats don't fix.
Why two coats? The first coat fills the mesh and shrinks as it dries. The second coat fills the shrinkage and feathers the edge. Skipping the second coat is why 90% of first-timer patches have a visible outline.
Use a wet sponge to smooth the second coat instead of sanding. Dip the sponge in clean water, wring it out, and wipe across the compound in a circular motion. It leaves a surface that needs almost no sanding and produces zero dust.
Step-by-step: fix a large hole (6–12 inches)
1. Cut the hole to the nearest studs. Measure 16 inches from a known stud center to find the next one. Cut the drywall out cleanly between them.
2. Cut a patch from scrap drywall. Measure the hole, add 2 inches to height and width. Cut the scrap piece to size.
3. Cut the paper only on the patch. Score the face paper 1 inch from each edge. Snap the drywall and peel the scored section off, leaving the paper tabs. You now have a patch that's 1 inch smaller than the hole on each side, with paper flaps.
4. Apply joint compound to the edges. Spread a thin layer around the rim of the hole. This is the glue.
5. Insert the patch and press. Push the patch into the hole so the paper flaps sit flat on the wall. Wipe excess compound smooth with the 6-inch knife.
6. Coat, dry, coat, dry, sand, prime, paint. Same process as the medium hole, but expect three coats instead of two for a seamless blend.
Alternative: backer board method. Cut a piece of furring strip 2 inches longer than the hole's height. Insert it behind the drywall, hold it in place, and drive a drywall screw through the existing wall into each end of the strip. Now screw the patch to the strip. This method is stronger than the paper flap method but requires owning a drill.
Cost breakdown: DIY vs. handyman vs. drywall pro in 2026
| Hole size | DIY material cost | Handyman (2026) | Drywall pro (2026) |
|---|---|---|---|
| Nail/screw hole | $2 | $80–$120 (minimum call-out) | Not worth calling |
| Small dent | $5 | $80–$120 | — |
| Doorknob hole (2 inches) | $10 | $80–$150 | $100–$180 |
| Fist-sized hole (4 inches) | $15 | $100–$180 | $120–$250 |
| Large hole (8+ inches) | $35 | $150–$300 | $200–$400 |
| Full sheet replacement | $55 | $300–$500 | $400–$700 |
A handyman's minimum charge in most 2026 U.S. metros is $80–$120 just for showing up. If you have one small hole, the DIY material cost is $2 and the labor is 15 minutes. The math is brutal.
Toolkit math: Buy a 6-inch taping knife ($8), a mesh patch pack ($5), and a quart of compound ($10) once for $23 total. That covers every hole under 6 inches in your house for the next 5 years. Per-repair cost after the first hole: $0–$5 worth of compound and a mesh patch.
What if it still looks bad?
1. Visible ridge at the patch edge. You didn't feather wide enough. Sand the ridge down, then add a third coat that feathers 6 inches past the current one.
2. Cracks at the seam. The patch isn't bonded to the wall. Cut out the cracked section, reinstall with a wider mesh overlap, and use paper tape over the final coat for extra strength.
3. Bubble under the paint. Moisture or old paint failure. Scrape the bubble, sand the area, prime with stain-blocking primer ($15), and repaint.
4. The patch keeps sinking. You used spackle on a medium hole. Cut it out and start again with mesh tape and joint compound. Spackle shrinks as it dries, and on holes bigger than a quarter, it keeps shrinking until it leaves a visible dish.
5. The texture doesn't match. On a small patch, smooth is better than a bad texture match. On large patches, practice the texture technique on a piece of cardboard before you spray the wall.
If the area around the patch feels soft or crumbles when you sand, the drywall is water-damaged. Stop. Cut out the damaged section until you hit dry material. If the damage extends to the studs, check for a leak source before you close the wall.
When to call a professional
1. The hole is bigger than 12 inches. The patch technique changes at this size. A full-sheet replacement needs a drywall lift or a helper, and the finishing requires a 12-inch taping knife and experience with corner beads. A pro does it in half the time and the finish is invisible.
2. The drywall is water-damaged and you can't find the source. A patch over active moisture is a temporary fix that grows mold. Find and fix the leak first, dry the wall, then repair. A plumber to find the leak costs $150–$300.
3. There's mold on the drywall. A bleach wipe kills surface mold, but if the drywall paper is compromised, replace the section. Mold remediation adds $200–$600 to a simple patch job.
4. You need a fire-rated repair. Drywall between a garage and living space, or around a furnace, must be 5/8-inch Type X fire-rated drywall. A standard patch voids the fire rating. A pro knows the local code requirements.
5. The hole has electrical or plumbing behind it, and you're not sure where. Cut a clean access hole, identify the obstruction, and have a pro finish the close-up if running conduit or pipe around a patch is involved.
Not sure whether a job is DIY territory? The guide on should I DIY electrical work or hire a licensed electrician covers the same decision framework for anything involving wires behind the wall.
FAQ
How long does it take to patch drywall?
A nail hole: 15 minutes. A fist-sized hole with mesh tape and compound: 20 minutes of work, but 24 hours for the compound to dry between coats. Plan for two days on medium holes.
How much does drywall patch material cost in 2026?
$2 for spackle, $10 for a mesh patch kit, $35 for a full large-hole patch kit. Most repairs fall between $2 and $15.
Can I paint directly over spackle or joint compound?
Spackle is paintable after drying. Joint compound needs primer first — bare compound absorbs paint unevenly and leaves a flat spot that shows through two coats of finish paint.
What's the difference between spackle and joint compound?
Spackle dries fast, shrinks minimally, and is for holes under 1 inch. Joint compound takes longer to dry, sands smoother, and bonds better over tape and large areas. Use the right one for the hole size and you skip the second trip to the store.
How do I fix a popped nail in drywall?
Drive a drywall screw 2 inches above and below the popped nail into the same stud. Dimple both screws below the paper surface. Fill both dimples and the original nail head with spackle. Sand and paint.
Why does my drywall patch keep cracking?
The patch isn't bonded to the wall — the compound shrinks and pulls away from the edge. Cut it out, expand the hole to the nearest stud, and install a proper backer or California patch with overlapping joint compound.
Related problems
- If the nail popped because of a loose stud, read how to fix a squeaky floor for the same screw-anchoring technique applied to subflooring.
- If the hole was caused by a plumbing leak behind the wall, start with fix a leaky faucet before you close the wall back up.
- If you're working near an outlet and need to cut drywall around it, the electrical safety rules in breaker keeps tripping apply — shut off the circuit before you saw.
- A ceiling patch follows the same steps as a wall patch, but gravity works against you. How to install a ceiling fan covers working overhead safely.
- Need a quiet room while the compound dries? How to silence a noisy refrigerator buys you some peace while you wait.
~2,587 words. Published 2026-06-09. Pillar: Repairs & emergencies.
Was this article helpful?
Get weekly DIY tips
No spam, unsubscribe anytime.
Newsletter signup coming soon.